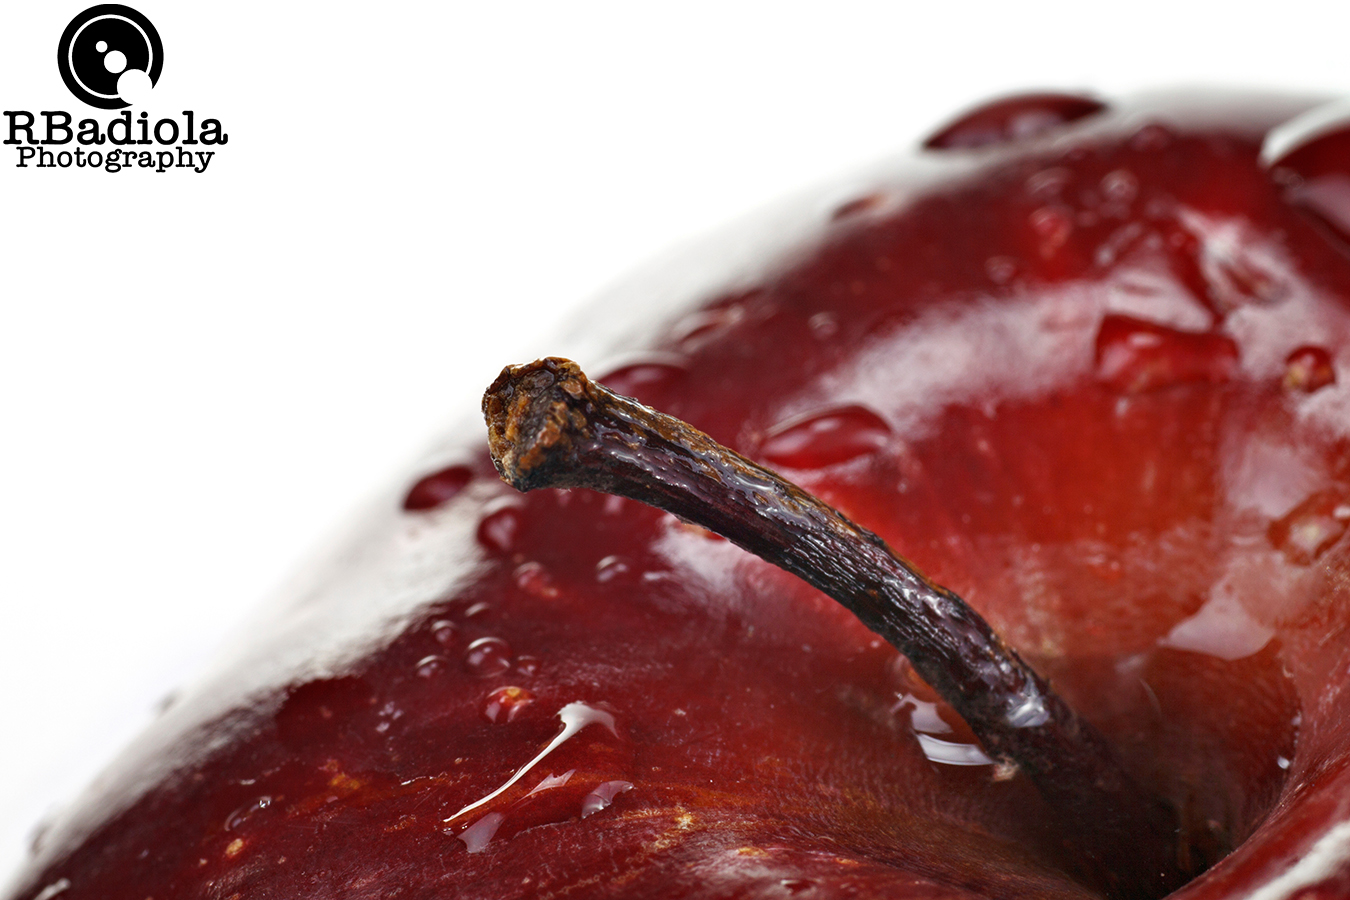
Oftentimes you see flower shots from calendars or websites that have a very dark background...usually all black. These kinds of shots are very simple to do. All you are going to need is:
A studio light with a modeling lamp, or continous lighting.
A tripod.
A camera (of course)
A dark background...it's not necessary but it helps a lot.
A snoot, or barn door...again it's not necessary but it helps.
A reflector...a white piece of cardboard will do.

I love doing dramatic lighting shots. Sometimes it takes away all the distractions and focuses mainly on your subject.
Attach the snoot or barn door to the light, place it around 45 degrees on top of the subject, either left or right, it's up to your personal preference. Turn the modeling light on, or if you are using a continous light just turn it on and focus the light into the subject. Adjust the light so that most of the hard shadows in the shot are gone. Remember, shadows are the key to a good dramatic lighting. The right amount of shadows will define your subject.
If you are using a dark background, place it behind the subject. The farther the better. For flower shots I usually place them around 3 feet of more behind the subject.
Attach you camera to your tripod and frame your subject to how you want it. If your camera has live view, use it. Turn on live view and zoom into the part of the subject where you want it focused. Move your focus ring till the subject gets really sharp. You should be using manual focus for this. After focus has been set turn live view off. If you don't have live view, focus on the subject by using the viewfinder.

For these shots I used a 70mm macro. Macro lenses give you a razor sharp image with a wide open aperture.
Set your camera to manual mode. Set your desired aperture. For these kinds of shots, I close the aperture a bit to get maximum sharpness. It's up to your taste how you want to set your aperture. Look at your meter and set your shutter. The meter should be around the 0 mark. Oftentimes I dial in my shutter to be a bit above the 0 mark but not too much.
If you are shooting alone you need to hold your reflector towards the subject to minimize the harsh shadows. Try adjusting the reflector to however you want it. When you finally see the reflector position you want, try to remember that. Or an easier way is to just attach your reflector to a stand and let the stand hold it for you.
Set your camera to timer and press the shutter. While the timer is counting down, position your reflector to where you remembered the best position for it. Wait till the shutter opens and closes before making any drastic moves. Remember you are not using strobes for this shot. Check the image and tweak your settings to your desire.

If any of the background is showing, you can basically post process it to make it look darker.