Usually when you shoot without a graduated neutral density filter, either your skies are going to be blown out, or your foreground will be too dark if you are trying to get the best exposure, unless the scenery has perfect lighting like in the late afternoon or early in the morning. Trying to get the perfect exposure sometimes is a give and take process. You can only have so much perfect exposure in your image that sometimes you'd have to sacrifice blowing out some highlights, or ending up clipping some shadow parts. Both of these are a photographers nightmare due to the fact that once it's overblown or clipped, data in that part of the image is lost and sometimes unrecoverable.
Modern software like Photoshop and Lightroom have the option to recover data in parts that are overblown or clipped...but it does not work all the time, even if it does, sometimes it doesn't look natural. So sometimes in situations where lighting is uneven for scenery shots, a lot of photographers resort to HDR. I do, and I love it. Sometimes people do say it's cheating on the photographers part...in my opinion, a photographer puts in time to compose, shoot and edit shots in HDR, just like in any other types of shots so I don't see it as cheating. As we all know, around 97% of the media that we see in print, tv, web, etc. has been retouched or manipulated...the percentage could probably be greater than that. So I don't really see it as cheating, it's just a different way of processing images to get the result that you want. Enough said.
Most if not all modern digital cameras have the ability to automatically bracket and shoot in burst. In doing HDR shots, you need to bracket...which means you have to take more than 1 exposure for a scene, which means you take 1 shot that is the mid exposure for the scene then one overexposed shot and one underexposed. The degree of overexposure and underexposure should be at least a 1 stop difference from your reference shot (your middle exposure). I have learned that more than 1 stop gives you more range of tone when you process it. I usually did just one stop before, now I usually do 2. I was in a photoshop expo this year and I've learned that for Canon users, it's ideal to get 3 bracketed exposures, and for Nikon users it's 5. I'm not really sure if that's true. I'm a Canon user so I just do 3.
The easiest way to do it is to set your cameras AEB or Auto Exposure Bracketing to bracket 3 shots. As I have said, I use a 2 stop difference for each bracket. Then set your camera to aperture priority. This will allow you to just set your aperture and the camera will do the rest. For scenery shots I do an aperture of f9 or greater. Then set your camera to timer (if you don't have a shutter release)...it is also helpful if your camera is set on a tripod. Remember, do not press the shutter with your own finger without setting it to timer mode, as this will move the camera a bit, which will cause blur. When you press the shutter and the timer counts down to zero, your camera should take the 3 exposures that you bracketed. It is ideal that you shoot in RAW mode.
Next is to upload the bracketed shots in your computer. For HDR shots I use Photomatix pro. This software is really easy to use to process HDR images. I just open the software, click on Generate HDR then just drag the 3 bracketed images in the window. After the software aligns the 3 files, all you have to do is control the sliders for the settings that you wish. Then process the image as a single tonemapped file. It is really a no brainer. Go crazy with it as you wish. Though I have to warn you...HDR photography is really addicting.
The best thing to do is to experiment. Try using more exposures, bracket your shots differently...whatever will make it different.
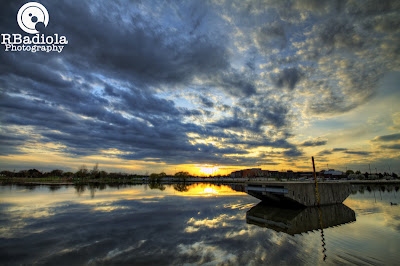
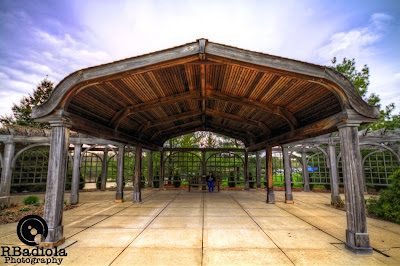
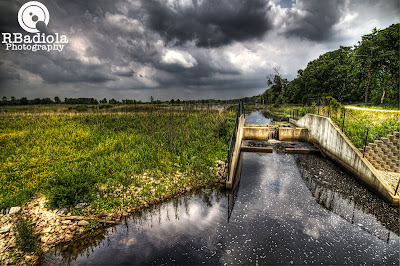
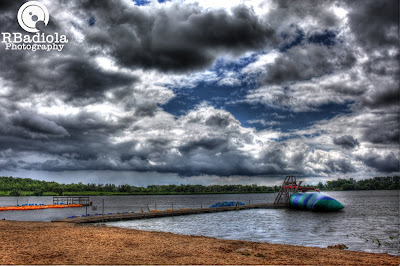
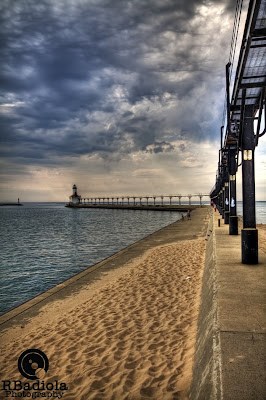
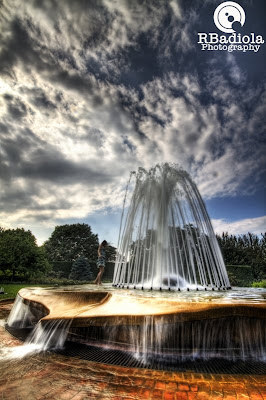
Here are some of my HDR shots from the past:

No comments:
Post a Comment